Here’s a roundup of small jobs done on Tammy Norie in late August and early September.
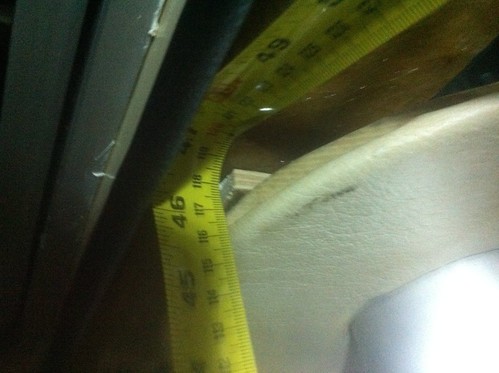
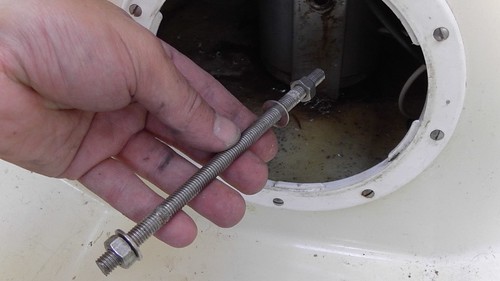
When comparing Tammy Norie and Emmelène, I suggested we drop Tammy’s mast and lift the mast stub. When we went to remove the retaining bolt, it snapped!

I cut a new bolt from stainless steel studding.
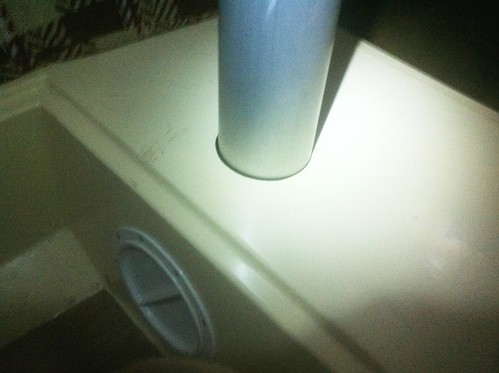
I suspect the wear on the bolt was the main cause of the clonking sound that’s been gradually building up when Tammy is in rough water. This also gave us a good chance to look at the rather inadequate mast foot bracket.

This is due for an upgrade later when I improve the mast step.
My engine starter cord snapped at an inconvenient moment on the way in to Portsmouth Harbor. I’d only just replaced it. This time I noticed that the cord was slightly melted. Moral: don’t use melty synthetic string for your engine starter. Use cord specifically designed for the job.
Replaced the incandescent bulb in my trusty utility lamp with a domestic halogen-replacement LED that I just happened to have knocking around. Half the power and a great deal brighter — possibly too bright.

Replaced the coaxial connectors on my log and depth instrument. They were being to corrode and the log was unreliable. I had to dismantle the instrument and desolder the old connectors from the circuit board. I bought a pack of 10 replacement connectors from eBay so that should keep me going. NASA Marine were very helpful.
I am finding my new Iroda SolderPro 70 butane soldering iron very useful.
While I was doing that I fixed another problem with the instrument: it’s too bright at night. I couldn’t find a way to do this electronically, but I discovered that the backlight and the display are physically separate. I cut a piece of paper to slip between them and the display is much less dazzling.

The charts in my Solent chart pack were getting dog-eared, so I’ve edged them all with Scotch Magic tape, which is nearly invisible and takes pencil marks.
The bow light hack finally failed after two years. The LED replacement bulb fell apart somewhere inside so that the terminals no longer connect. This is probably because it was not designed to be shaken about on the bow of a small boat. I ordered a couple of made-for-purpose replacements, one of which is now in the bow. The other is a spare for either bow or stern.
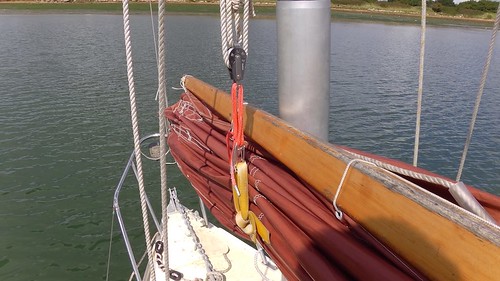
My mast lift is now a spare halyard. The mast lift is a loop holds the forward part of the sail bundle when the sail is reefed or lowered. Practical Junk Rig (fig. 3.49) has it as a single line from the mast head.
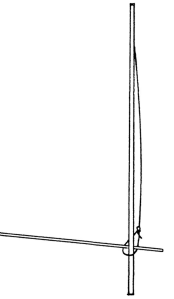
Practical Junk Rig figure 3.49
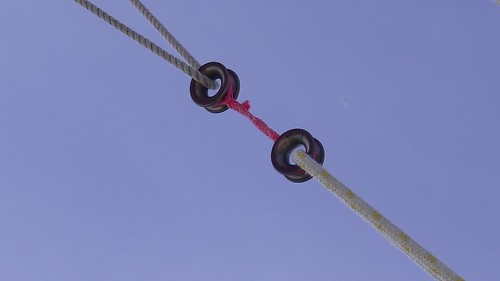
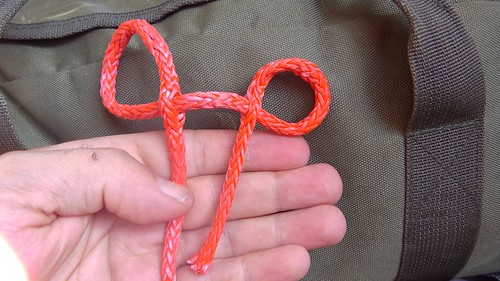
I’ve repurposed the enormously long “burgee halyard” that came with Tammy as a spare halyard in it’s place. I’ve felt the need ever since my halyard came off in the Waddenzee. Thanks to Chris Edwards for this idea. (The arrangement below is temporary until I make a new soft shackle.)
I may re-rig it a shown in Practical Junk Rig figure 3.50b, using the spare halyard on one side, allowing me to reef upwards!
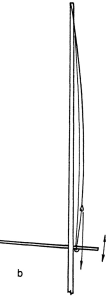
Practical Junk Rig figure 3.50b
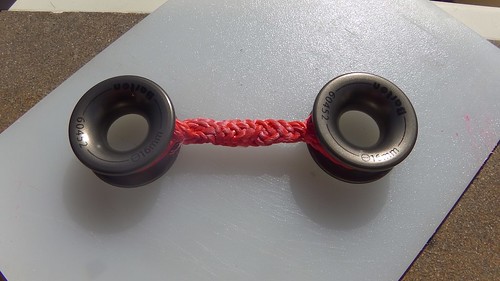
I found and installed a pair of calibrated quick links for the series drogue. It’s surprisingly hard to find shackles that are rated for load, but these beauties are good for at least 12500N each, more than the weight of the boat, and more than the greatest expected load on the drogue. (The drogue still doesn’t exist, in case you’re looking for it.)
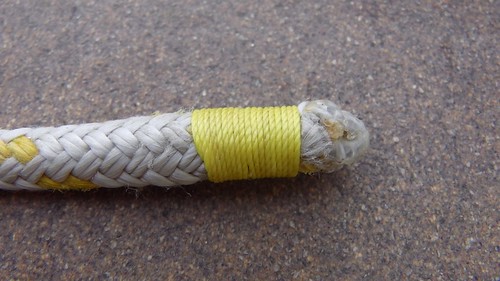
I whipped some rope ends!
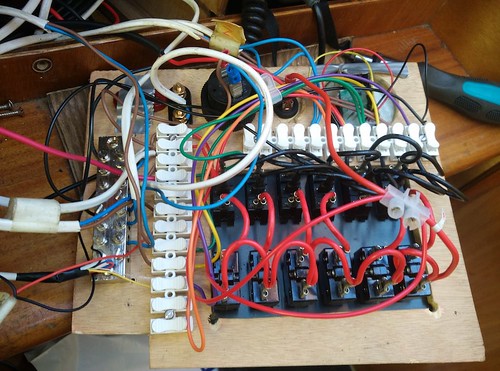
I rewired my switch panel using some new terminal blocks and rules: each piece of equipment goes to its own terminal, then switches are wired to terminals using colour-coded jumpers. Much neater, and a model for how I’ll do things when I remake the panel.
Expect more small jobs next month.